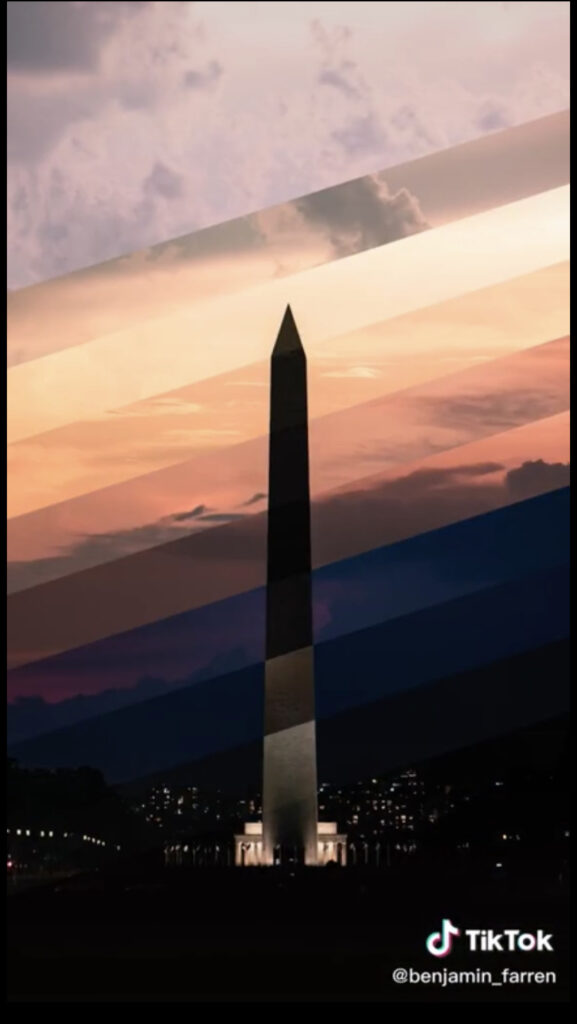
I randomly came across the work of Benjamin Farren on Reddit, where he drove across the US to take a picture of the Washington Monument in DC like this:
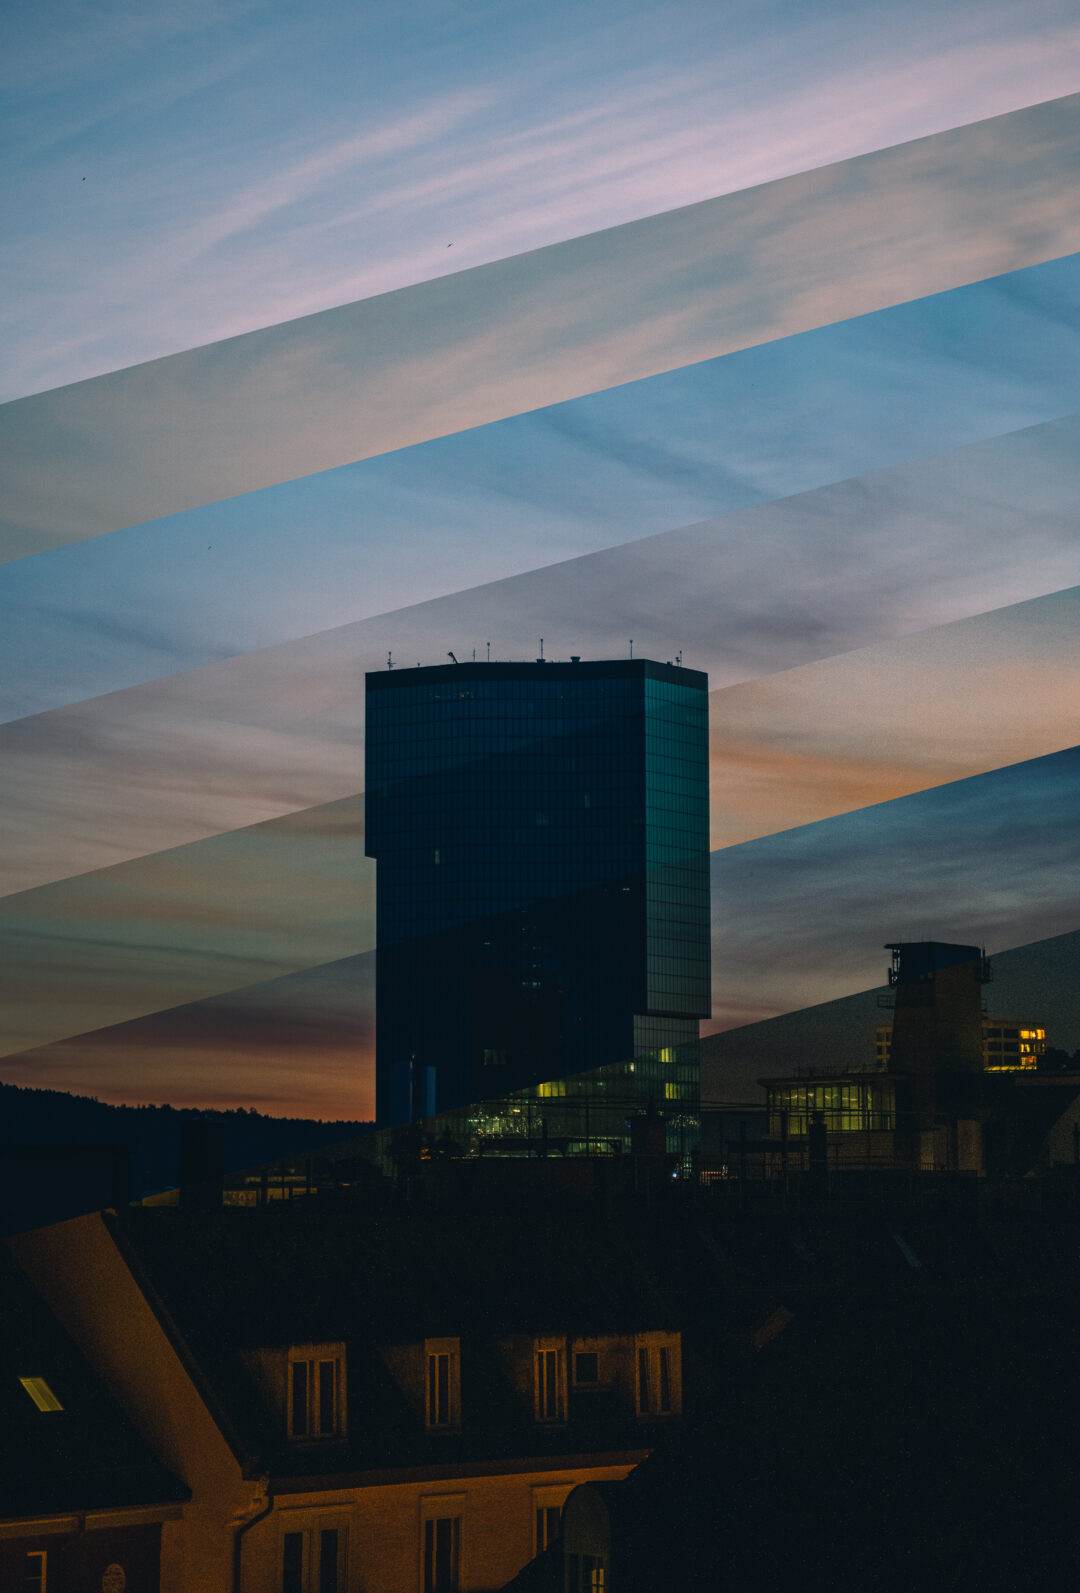
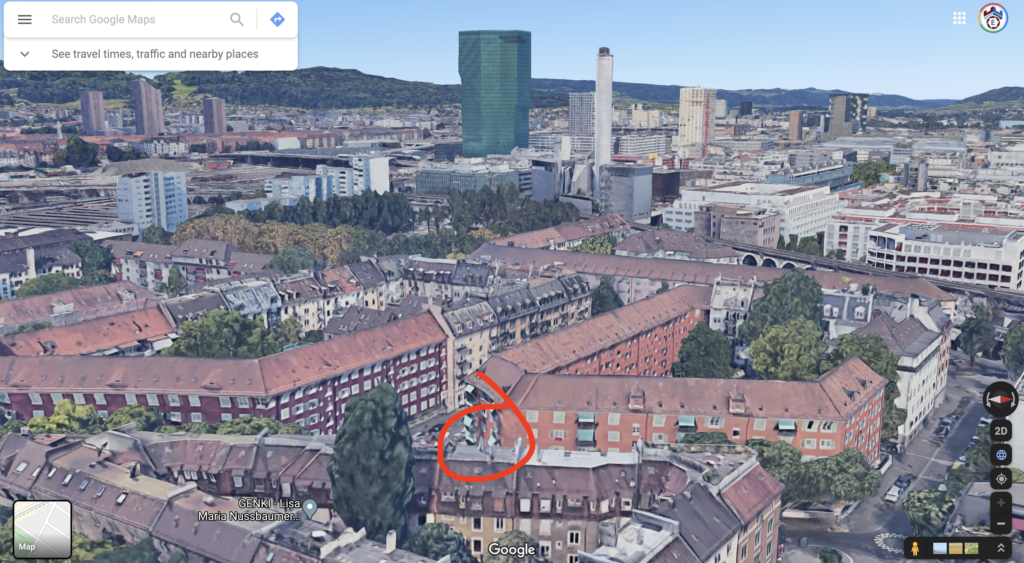
As an avid producer of timelapses in video format, I found this photo and his idea absolutely brilliant and had to try it out for myself. I looked at the tallest building in my city of Zürich, Switzerland and went out to replicate this work of art. First I had to find the right angle. Fortunately, I have a friend who lives just west of the Prime Tower and asked if he could get me up on the rooftop of his building, the location is here, as circled below:
He happily obliged and up I went with camera and tripod in hand at 20:15, 45 minutes before the scheduled sunset. It was brisk, about 17 degrees and only going to get colder, but with high clouds, which would serve as a nice backdrop to my photo as the clouds were sure to reflect and change color as the sun went down. I set the timer on my phone for 10 minutes, so that I could get a noticeable enough difference between the bars. I wasn’t sure at what ISO or shutter speed to photograph at each interval, if I should be adjusting for brightness, so at each 10 minute interval I photographed at a high ISO (around 1600) and a low ISO (around 400). that way I could layer them after just in case. The evening progressed looking like this:
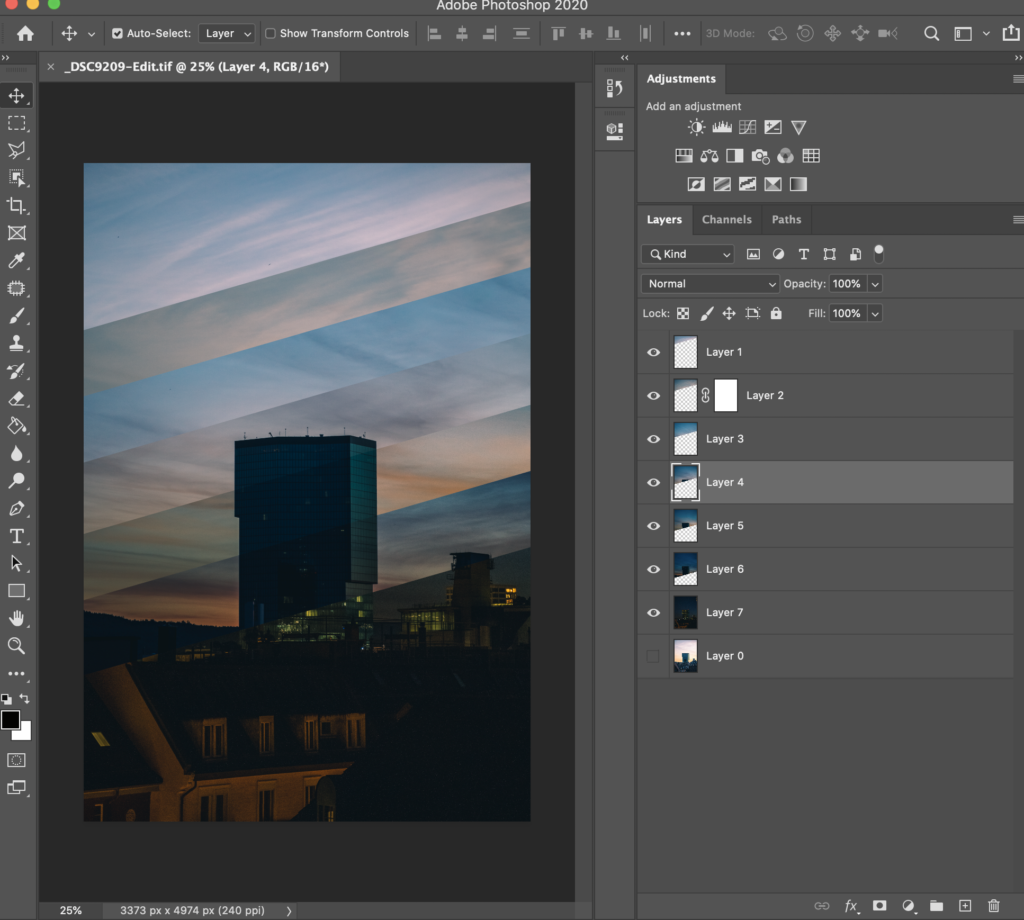
It got darker and I had taken approximately 40-50 photos at varying ISOs as the sky got darker over the span of three hours. Once home, I was super excited and immediately imported the shots into Lightroom. Once in there, I picked out eight that were different enough, color corrected, adjusting the curves and exposure, and then right-clicked to edit in Photoshop. This opens each photo up as its own image to edit, but I needed all of the images to be layers in one image. Thus, I clicked on each image and dragged them on top of the first one. Next, I used the Marquee selection tool to make a diagonal cut across the image, right clicking to select the option to cut away the layers. Once I made a selection, I held down the shift key and tapped the arrow key down 50 times to offset the layers before making the next cut. The end result looked like this in Photoshop:
After export, I had my final product, and was, frankly, satisfied with the end result.
For more of my photography, you can have a look on my Photography page. Thanks for reading and do let me know if you would like to hear more of my photography process.